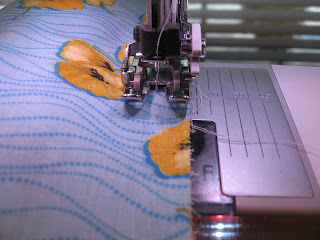
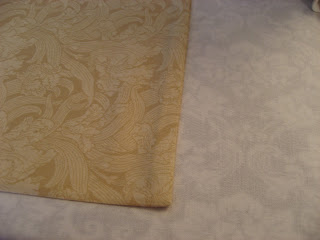
The first one is going to be a pillowcase. Whether you make these for charity or yourself it is nice to know how to do it and this is a very easy project with excellent results.
This is one that I made my grandson Jason. He totally loves Spiderman!!
It normally uses three fabrics but I had to piece the main body of the pillowcase with the red fabric so as we start the project don't get confused. :-)
PILLOWCASE TUTORIAL
We are making these in my quilt guild for charity.
You will need:
3/4 yard Main body of pillowcase
1/4 yard Cuff
1/4 yard Accent band Cut one 1 1/2" inch strip by the WOF (width of fabric).
Directions:
1. Trim the body and cuff pieces straight along the raw edges.
Press the 1 1/2 " wide accent strip in half lengthwise, right side facing out. Strip is now 3/4" x wof. see photo below.
2. Trim all pieces to the same width (approx. 43-43" x wof.
3. Place the cuff strip right side up on the table. see photo below
4. Place the body right side up on top of the cuff. Match the upper raw edges flush with each other. see photo below
5 Place the accent band on to of the body (again flush at upper raw edges). see below
Pin to secure layers.
6. Roll the body toward the upper edge stopping a few inches from the raw edges. see below
7. Bring the cuff up and over the rolled body. Line up the raw edges and re-pin to secure.
8. Sew along the upper raw edges using a 1/2" seam allowance.
9. Pull the body out of the tube formed in step 8.
Press the cuff away from the accent band.
10. Fold the pillowcase in half (right side out) bringing the raw edges flush. Pin to secure layers.
Take care to match the seams of the accent piece.
11.Sew down the raw edges (L shape) using a 1/8" to a scant 1/4" seam allowance.
12. Trim Corners and turn wrong side out. Press the edges pushing the seam allowances to the edge. Sew the same "L" shape but this time use a 3/8" wide seam allowance.
 |
| Finished! |


0 comments:
Post a Comment